Image Management
Sample Badge
Short summary of this page.
Image Management Guide for Avada Live Builder
Section titled “Image Management Guide for Avada Live Builder”This guide will show you how to add, replace, and modify images using the Avada Live Builder.
Working with Images in Avada Live Builder
Section titled “Working with Images in Avada Live Builder”Step 1: Accessing Image Elements
Section titled “Step 1: Accessing Image Elements”- In Avada Live Builder, locate the image you want to edit
- Click directly on the image to select it
- You’ll see a blue outline and control handles around the selected image
- For nested images, you may need to use the Navigator panel to select the correct element
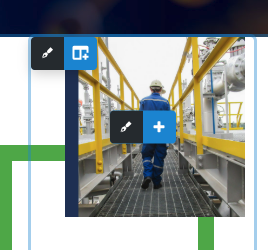
Selecting an image element in Avada Live Builder
Step 2: Opening Image Settings
Section titled “Step 2: Opening Image Settings”- Once selected, click the edit pencil icon that appears
- This opens the element settings panel on the left side
- The Content tab will be active by default
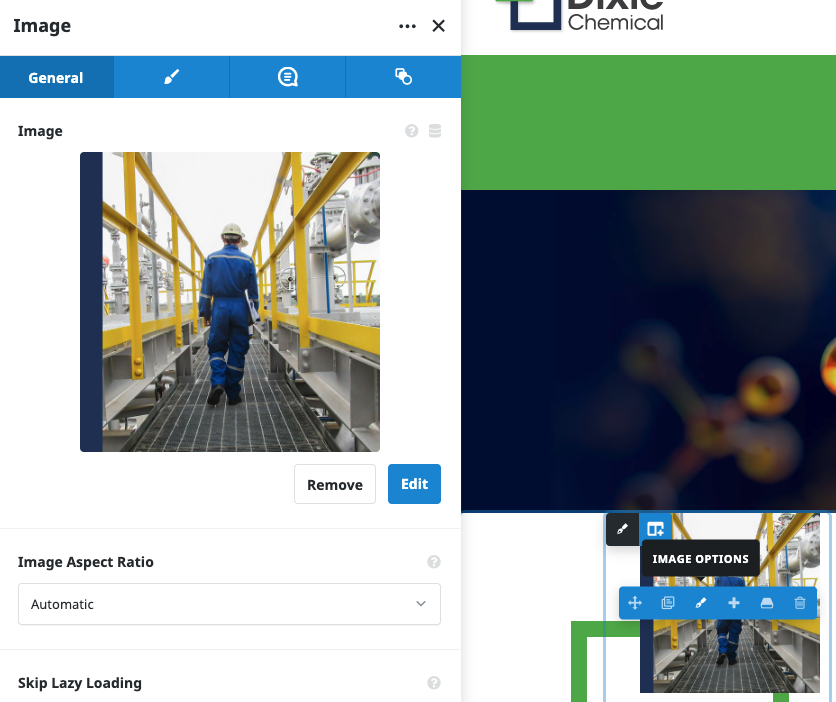
Image settings panel
Replacing Existing Images
Section titled “Replacing Existing Images”Step 1: Access the Image Source Option
Section titled “Step 1: Access the Image Source Option”- In the element settings panel, locate the “Image” section
- Click the “Edit” button next to the current image
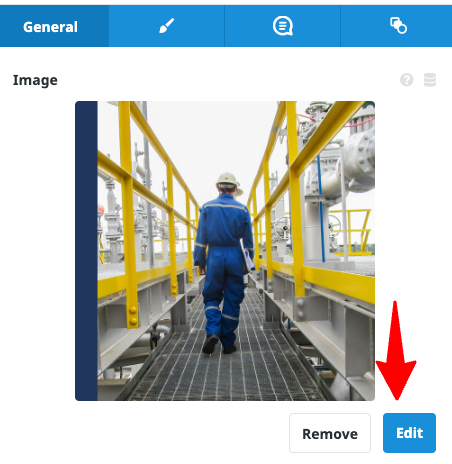
Replace image option in the settings panel
Step 2: Select a New Image
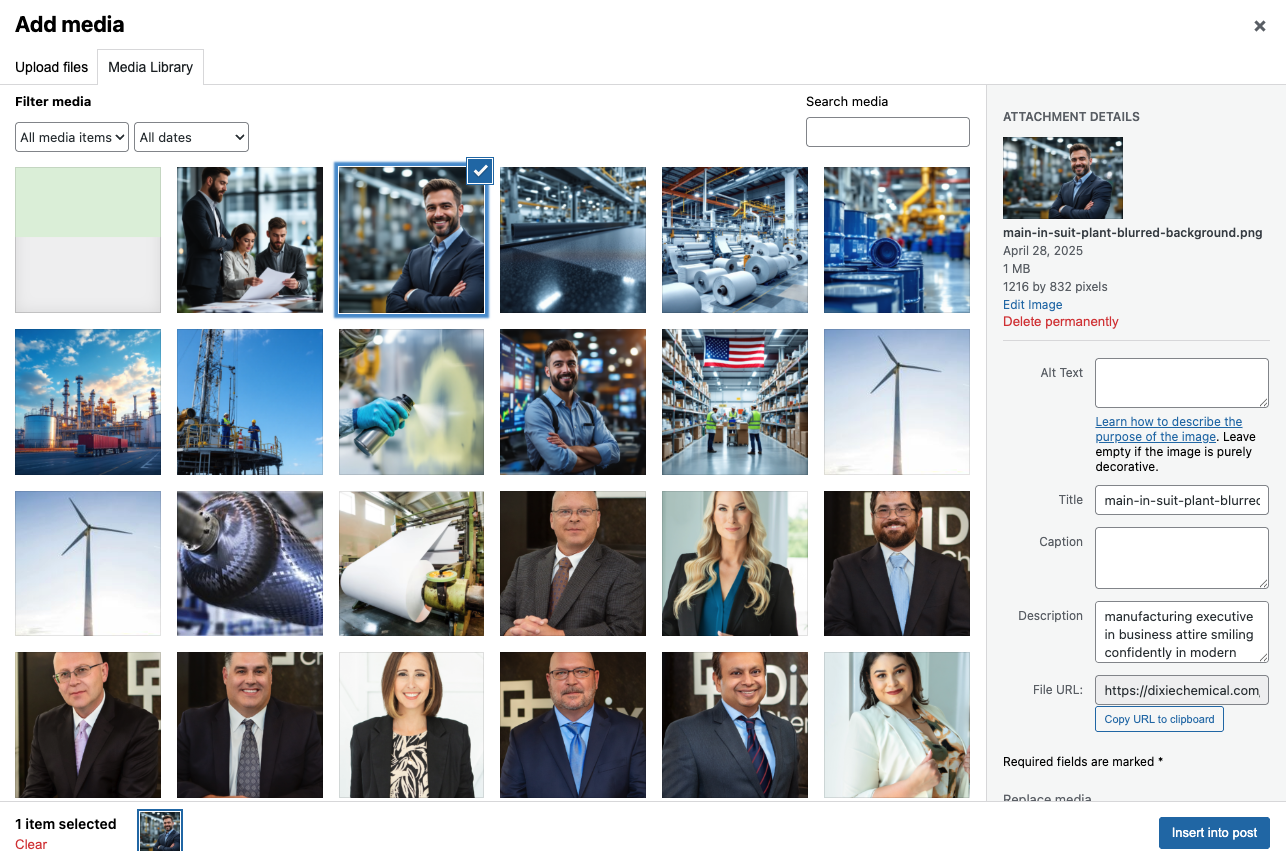
Section titled “Step 2: Select a New Image”- The WordPress Media Library will open
- You can:
- Select an existing image from the library
- Upload a new image by clicking “Upload Files”
- Search for images using the search box
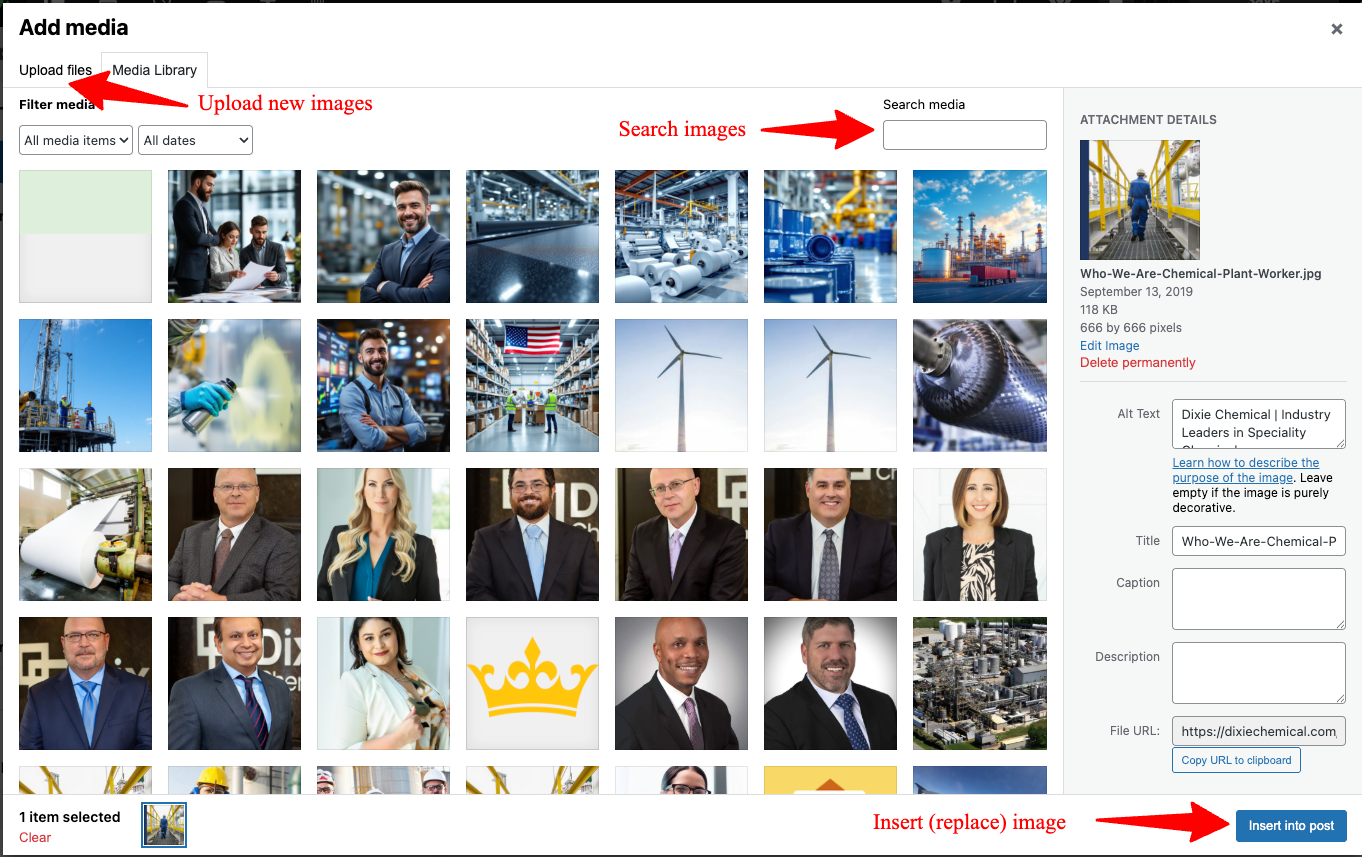
WordPress Media Library
Step 3: Upload a New Image (if needed)
Section titled “Step 3: Upload a New Image (if needed)”- Click “Upload Files”
- Select an image from your computer
- Wait for the upload to complete
- The new image will appear in the Media Library
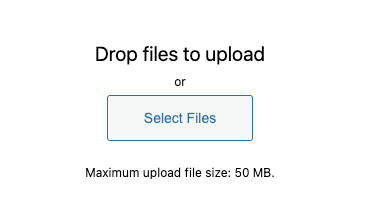
Uploading a new image
Step 4: Configure Image Settings
Section titled “Step 4: Configure Image Settings”- Select your desired image
- Adjust settings in the right panel:
- Add alt text for accessibility and SEO
- Set image size, alignment, and link options
- Apply effects or borders as needed
| Image Properties | Image Styling |
|---|---|
 | 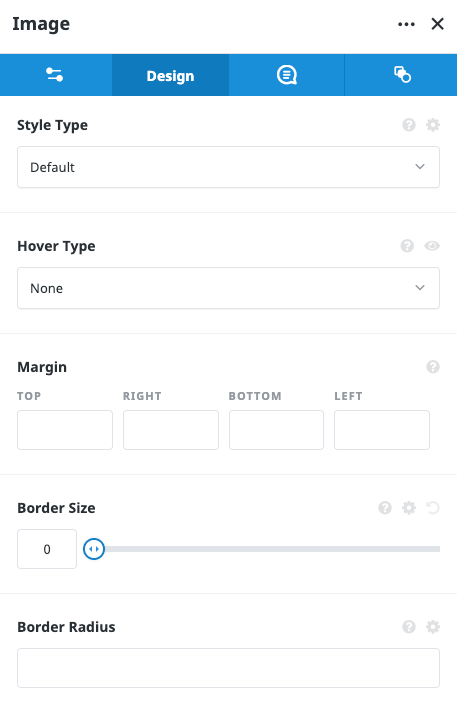 |
Image effects and styling options
Adding New Images to a Page
Section titled “Adding New Images to a Page”Step 1: Add an Image Element
Section titled “Step 1: Add an Image Element”- Click the ”+” button to open the Elements panel
- Search for or scroll to find the “Image” element
- Drag and drop it to your desired location on the page

Adding a new image element
Step 2: Select or Upload an Image
Section titled “Step 2: Select or Upload an Image”- The Media Library will open automatically
- Select an existing image or upload a new one
- Configure settings as described earlier
- Click “Select” to add the image to your page
Selecting an image from the Media Library
Step 3: Configure the New Image
Section titled “Step 3: Configure the New Image”- Adjust size, alignment, and styling as needed
- Add alt text and other properties
- Position the image correctly within your layout
| Image Properties | Image Styling |
|---|---|
| |
Configuring a newly added image
Image Optimization Best Practices
Section titled “Image Optimization Best Practices”File Size and Performance
Section titled “File Size and Performance”- Keep image file sizes under 200KB when possible
- Use appropriate dimensions (don’t upload 4000px images for 400px spaces)
- Consider using compressed images for faster page loading
Image Formats
Section titled “Image Formats”- JPG: Best for photographs and complex images with many colors
- PNG: Best for images that need transparency
- SVG: Ideal for logos and icons (scales without quality loss)
- WebP: Modern format with better compression (check browser support)
Accessibility Requirements
Section titled “Accessibility Requirements”- Always add descriptive alt text to images
- Make sure text has sufficient contrast against image backgrounds
- Avoid using images of text when possible
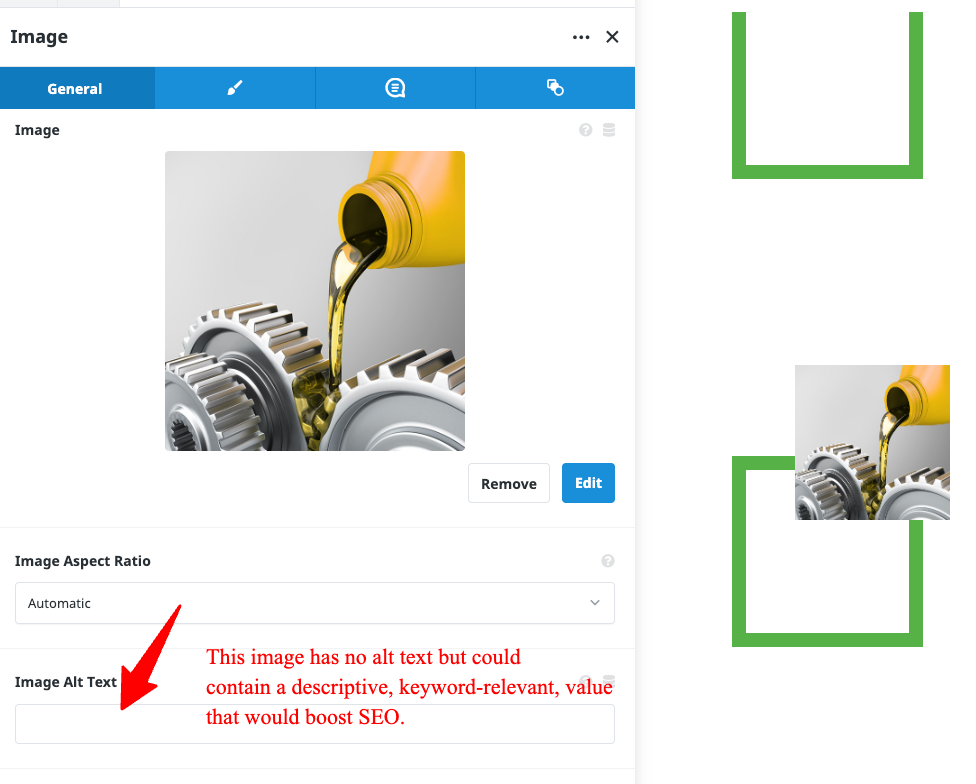
Adding alt text to an image
Responsive Behavior
Section titled “Responsive Behavior”- Test how images appear on different screen sizes
- Use the responsive mode in Live Builder to preview mobile appearance
- Consider using different images for mobile vs. desktop when appropriate
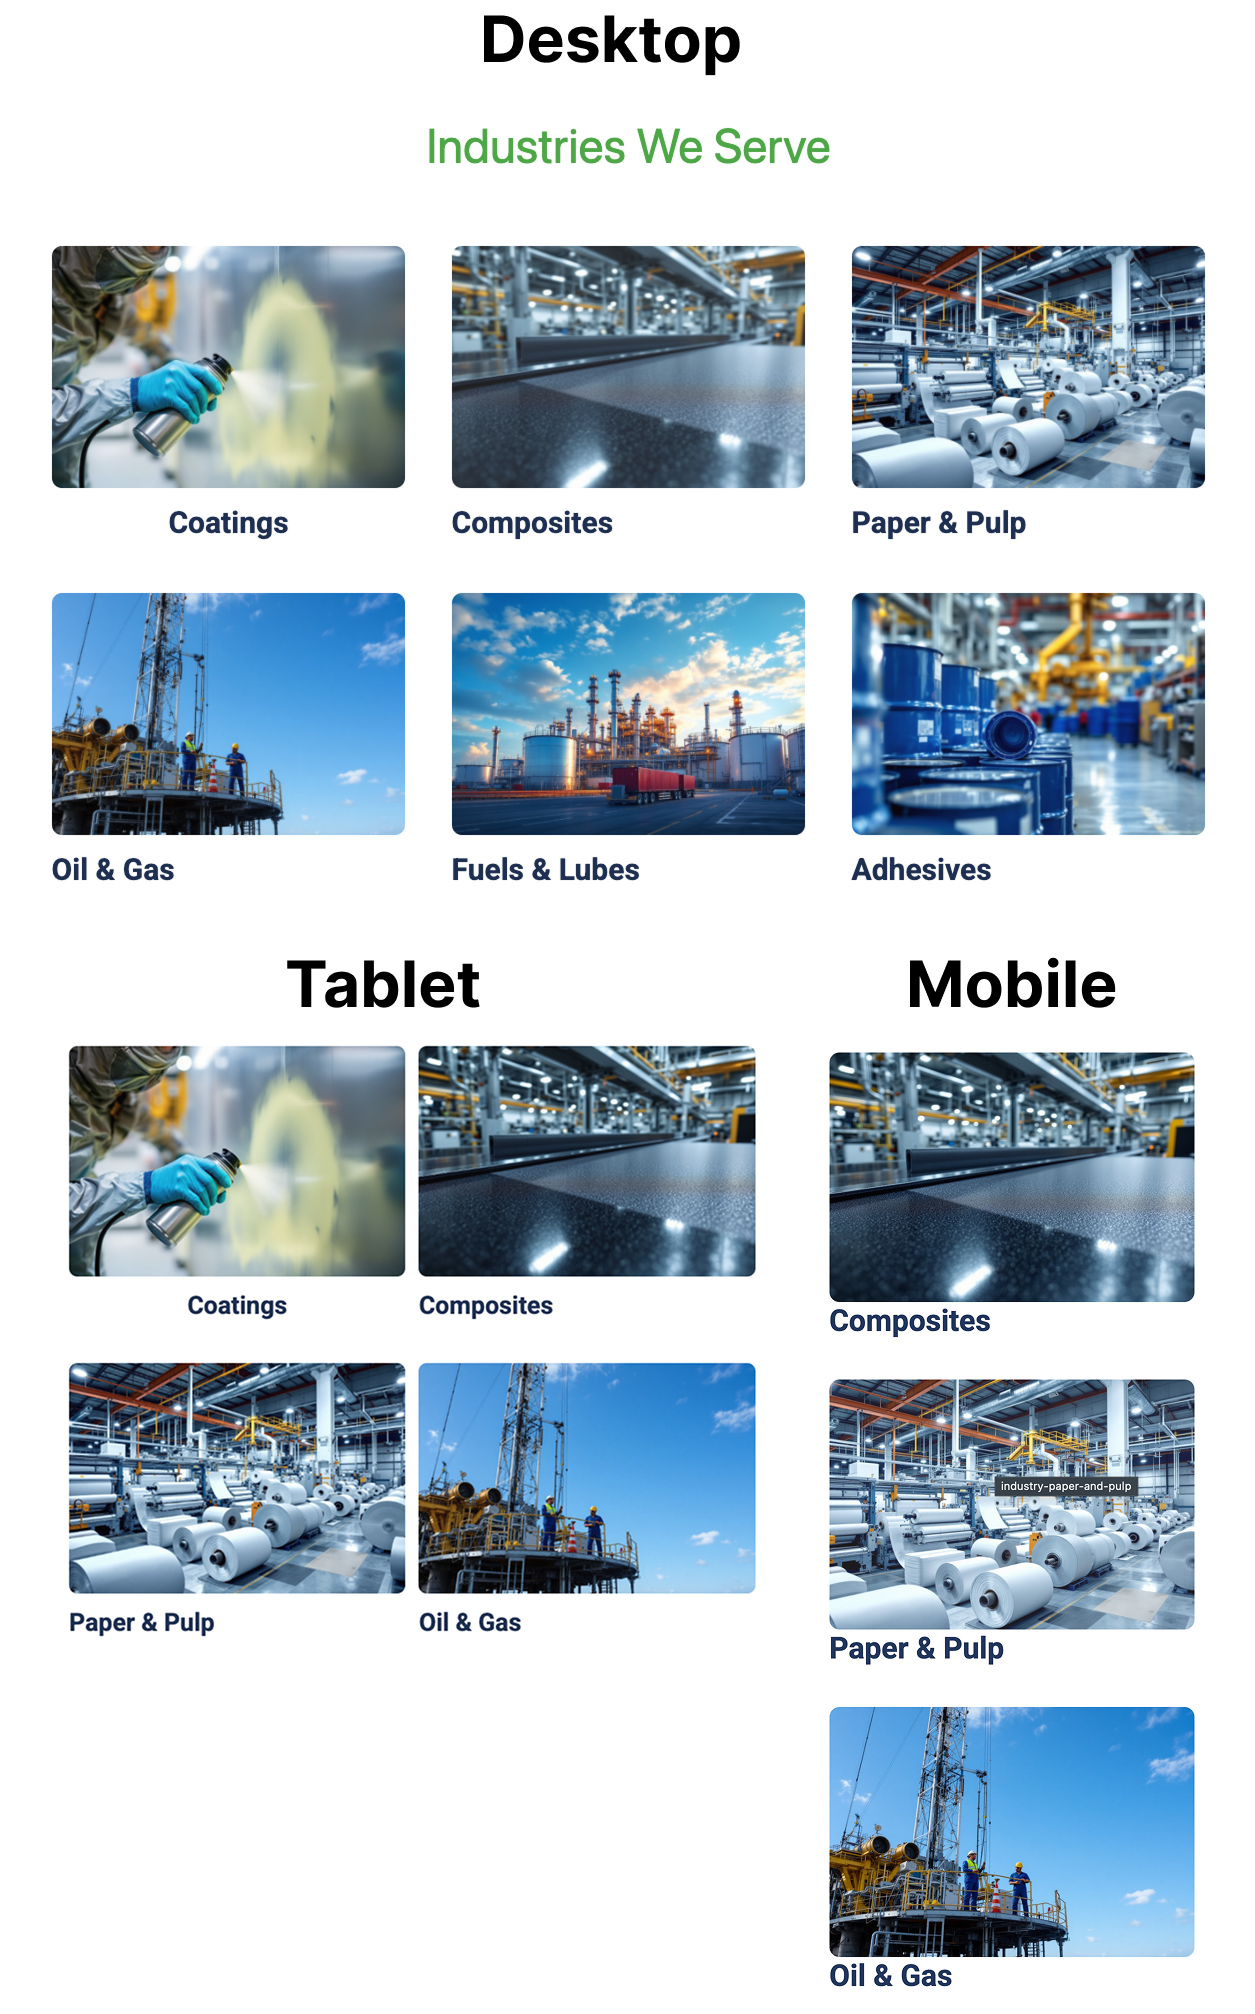
Testing responsive behavior of images
Troubleshooting Image Issues
Section titled “Troubleshooting Image Issues”Image Not Displaying
Section titled “Image Not Displaying”- Verify the image was properly uploaded to the Media Library
- Check if the file path is correct
- Try replacing the image with a different one to test
Image Appears Distorted
Section titled “Image Appears Distorted”- Check if aspect ratio is being maintained
- Adjust size settings to match the image’s natural proportions
- Try using a different image with dimensions better suited to the space
Image Loading Slowly
Section titled “Image Loading Slowly”- Compress the image to reduce file size
- Check image dimensions and resize if unnecessarily large
- Consider using a different format (WebP instead of PNG, for example)
Next Steps: Now that you know how to work with images, proceed to the SEO Best Practices Guide to learn how to optimize your content for search engines.